
How to Clean Vinyl Records: The Complete Guide for DJs and Collectors
Introduction
A dirty record doesn't just sound worse — it actively damages your stylus. Dust, grease, and grit in the grooves act like sandpaper against the diamond tip, wearing it down with every play. Regular cleaning is one of the most impactful things you can do for both sound quality and the longevity of your equipment.
This guide covers every cleaning method, from a quick daily brush to deep wet cleaning for thrift store finds.
Why Records Get Dirty
Vinyl is statically charged, which means it attracts dust like a magnet. Every time you play a record, the stylus pushes debris further into the groove. Add fingerprint oils, smoke residue from old venues, and general environmental grime — and even a "clean" looking record can be sonically degraded.
Signs your record needs cleaning:
- Audible crackling or popping that wasn't there before
- Dull, muffled high frequencies
- Visible dust or smudges on the playing surface
- Static shocks when you pick the record up
Method 1: Carbon Fiber Brush (Daily Maintenance)
The carbon fiber brush is the most important piece of record care equipment a DJ owns. Used before every play, it removes loose surface dust and discharges static.
How to use it:
1. Place the brush across the grooves while the record spins on the platter
2. Hold it lightly — don't press down
3. After a few rotations, lift the brush toward the edge to sweep the dust off
4. Never drag loose dust toward the label
This takes 10 seconds and should be a habit before every single play. It won't remove embedded grime, but it prevents surface dust from being pushed deeper into the groove.
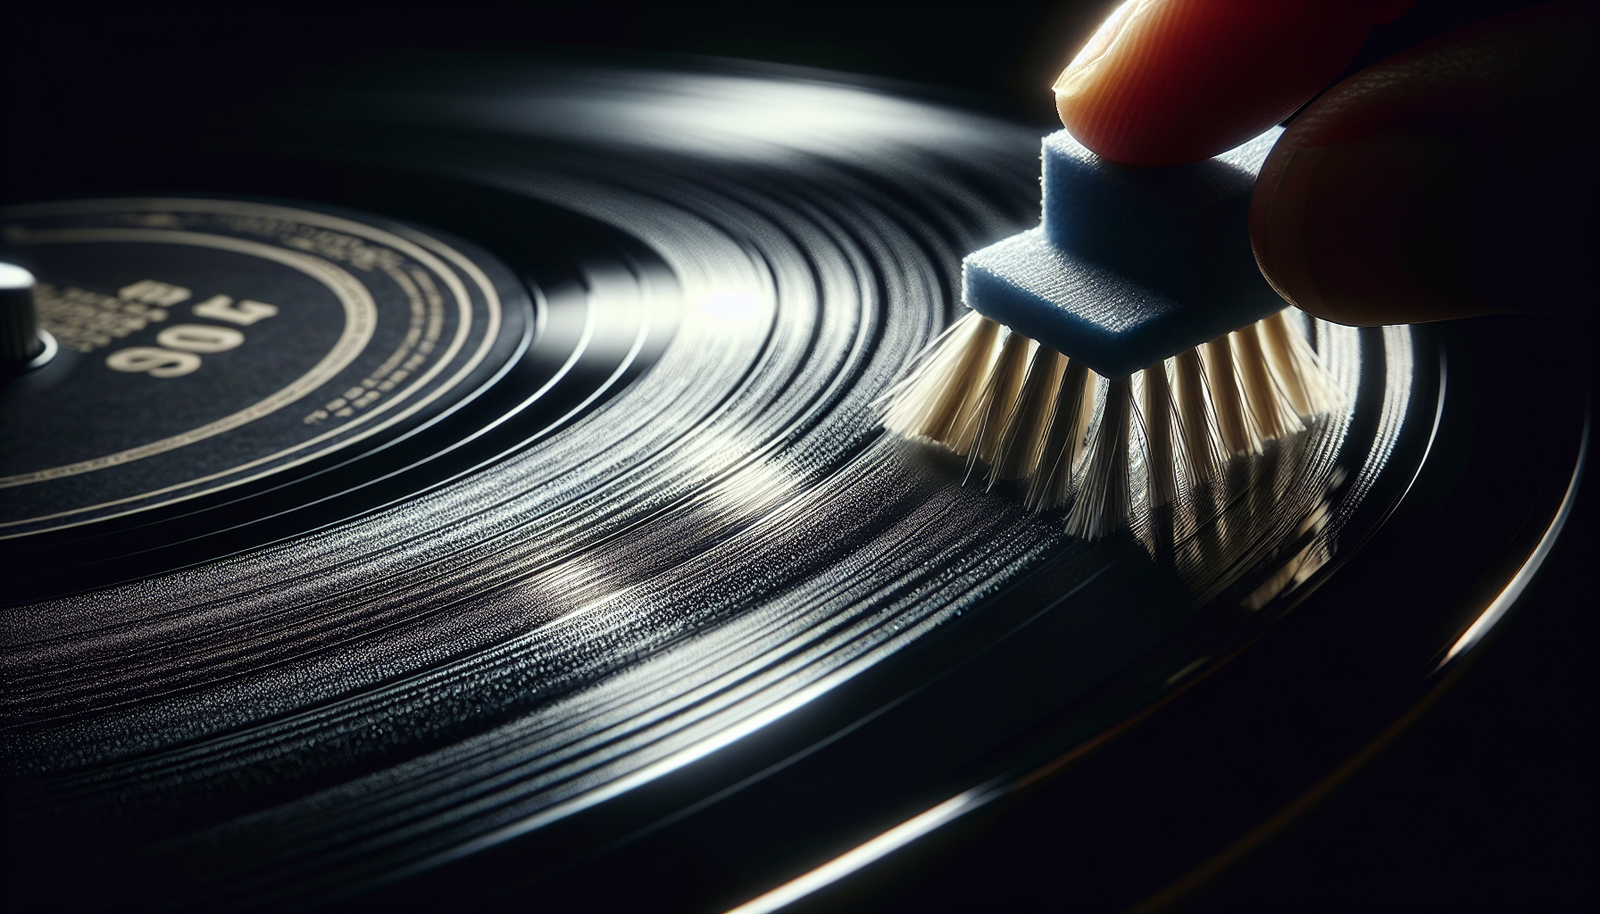
Method 2: Velvet Record Brush
Similar to the carbon fiber brush but uses soft velvet fibers to physically lift dust from grooves. Some DJs prefer velvet for its gentle touch on delicate vintage pressings.
Use the same technique as the carbon fiber brush — let the record spin and hold the brush lightly across the surface.
Method 3: Wet Cleaning (Record Cleaning Fluid)
For records with visible smudges, embedded grime, or second-hand finds, wet cleaning is necessary. You'll need:
- Record cleaning fluid (specifically formulated — never use tap water or household cleaners)
- A microfiber or velvet cleaning pad
- A drying rack or clean surface
Process:
1. Apply a few drops of cleaning fluid to the pad
2. Place the pad on the spinning record, applying light pressure
3. Move the pad with the grooves (not against them) for 3–4 rotations
4. Wipe the residue with the dry side of the pad
5. Let the record fully air-dry before playing
Recommended fluids: Mobile Fidelity Sound Lab record cleaning fluid, Spin-Clean solution, or GrooveWasher G2.
Method 4: Record Cleaning Machine (Best Results)
For serious collectors and DJs with large or valuable collections, a vacuum record cleaning machine is the gold standard. It applies fluid, scrubs the grooves with a brush, then vacuums up the dirty fluid — leaving the record truly clean.
Top options:
- Okki Nokki — affordable, manual operation, excellent results
- Nitty Gritty — reliable workhorse used in many record stores
- Audio Desk Systeme — ultrasonic cleaning, the most thorough available
A single RCM session can transform a crackly thrift store record into something that sounds nearly new.
Method 5: Spin-Clean Record Washer
A budget alternative to a full RCM. The Spin-Clean is a basin with two brushes that clean both sides of the record simultaneously as you rotate it by hand. At around $80, it's the best value wet-cleaning solution available.
Great for cleaning batches of second-hand records before they go into your collection.
What NOT to Do
- Never use paper towels — they scratch the playing surface
- Never use household glass cleaner or alcohol — they strip the groove walls
- Never blow on a record — the moisture in your breath leaves residue
- Never clean against the grooves — always clean in the groove direction (circular)
- Never put a wet record back in its sleeve — moisture trapped in paper causes mold
Stylus Cleaning
Your stylus needs regular cleaning too. A dirty stylus degrades sound quality and re-deposits grime back into clean records.
- Use a stylus brush (a small soft brush) to gently sweep forward-to-back across the stylus tip
- For deeper cleaning, stylus cleaning fluid on a piece of dense foam works well — lower the needle onto the foam gently
- Never clean side-to-side — the cantilever can snap
Building a Tracklist After Cleaning Sessions
After cleaning and playing through a batch of records, use 45 Mix Trackr to record your session and automatically generate a tracklist. It's especially useful when you're sorting through a new thrift store haul and want to catalog what you found.
Conclusion
Record cleaning is the most underrated maintenance habit in vinyl culture. A ten-second brush before every play, occasional wet cleaning for new additions, and proper stylus care will keep your collection sounding great and your equipment lasting longer. Think of it as regular maintenance — like changing the oil in a car.
Identify your DJ mix instantly
Upload any audio or video mix and get a full tracklist with song titles, artists, and album covers in minutes.
Try 45 Mix Trackr →